

How to See and Photograph the Northern Lights
October 20, 2022
Seeing them:
• Look at the aurora forecast (27 day forecast, 3 day forecast, 30 minute forecast). Times are given in Coordinated Universal Time. Higher KP values mean stronger forecasted aurora activity. Anything above KP4 is considered fairly high activity. Although if you’re far enough north, amazing displays can happen regardless of the forecast.
• Look at weather forecasts for a stretch of clear weather aligning with a stretch of high aurora activity.
• Go as far north as you can, and not in the summer when it's light out all night. Stretches of high activity tend to occur around the spring and fall equinoxes. Some of the easiest places at far northern latitudes to fly into are Fairbanks, Whitehorse, Yellowknife, Reykjavik, and Tromsø.
• Look at cloud cover predictions in the meteogram window on Windy.com to find somewhere without clouds.
• Stay out at night! They can appear anytime, sometimes very briefly, and you can always sleep during the day.
Photographing them:
• In most cases, shoot as wide as possible.
• Remember/mark the infinity focus point on your lens ahead of time so you can quickly manually focus to infinity in the dark. To do this, zoom all the way out and focus on something far away. Then remember where the focus dial on the lens is and/or mark it with a piece of tape.
• Use a tripod.
• Use the widest aperture possible.
• Balance iso and shutter speed. If the aurora is moving quickly across the sky, try using a fast shutter speed and higher iso. If the aurora is relatively stationary, you can use a slower shutter speed and lower iso. Where the optimal tradeoff lies between shutter speed and iso also depends on how well your camera can handle noise at high iso.
• For the foreground, take a separate shot at much longer shutter speed and lower iso to blend with the sky. You can take multiple shots like this and stack them to further reduce noise. Another option is to take a shot of the same scene during blue hour and blend it with sky, being careful to match brightness and color cast.
• Scouting foregrounds during the day can be helpful too, though of course you never know exactly where the aurora might appear in the sky.
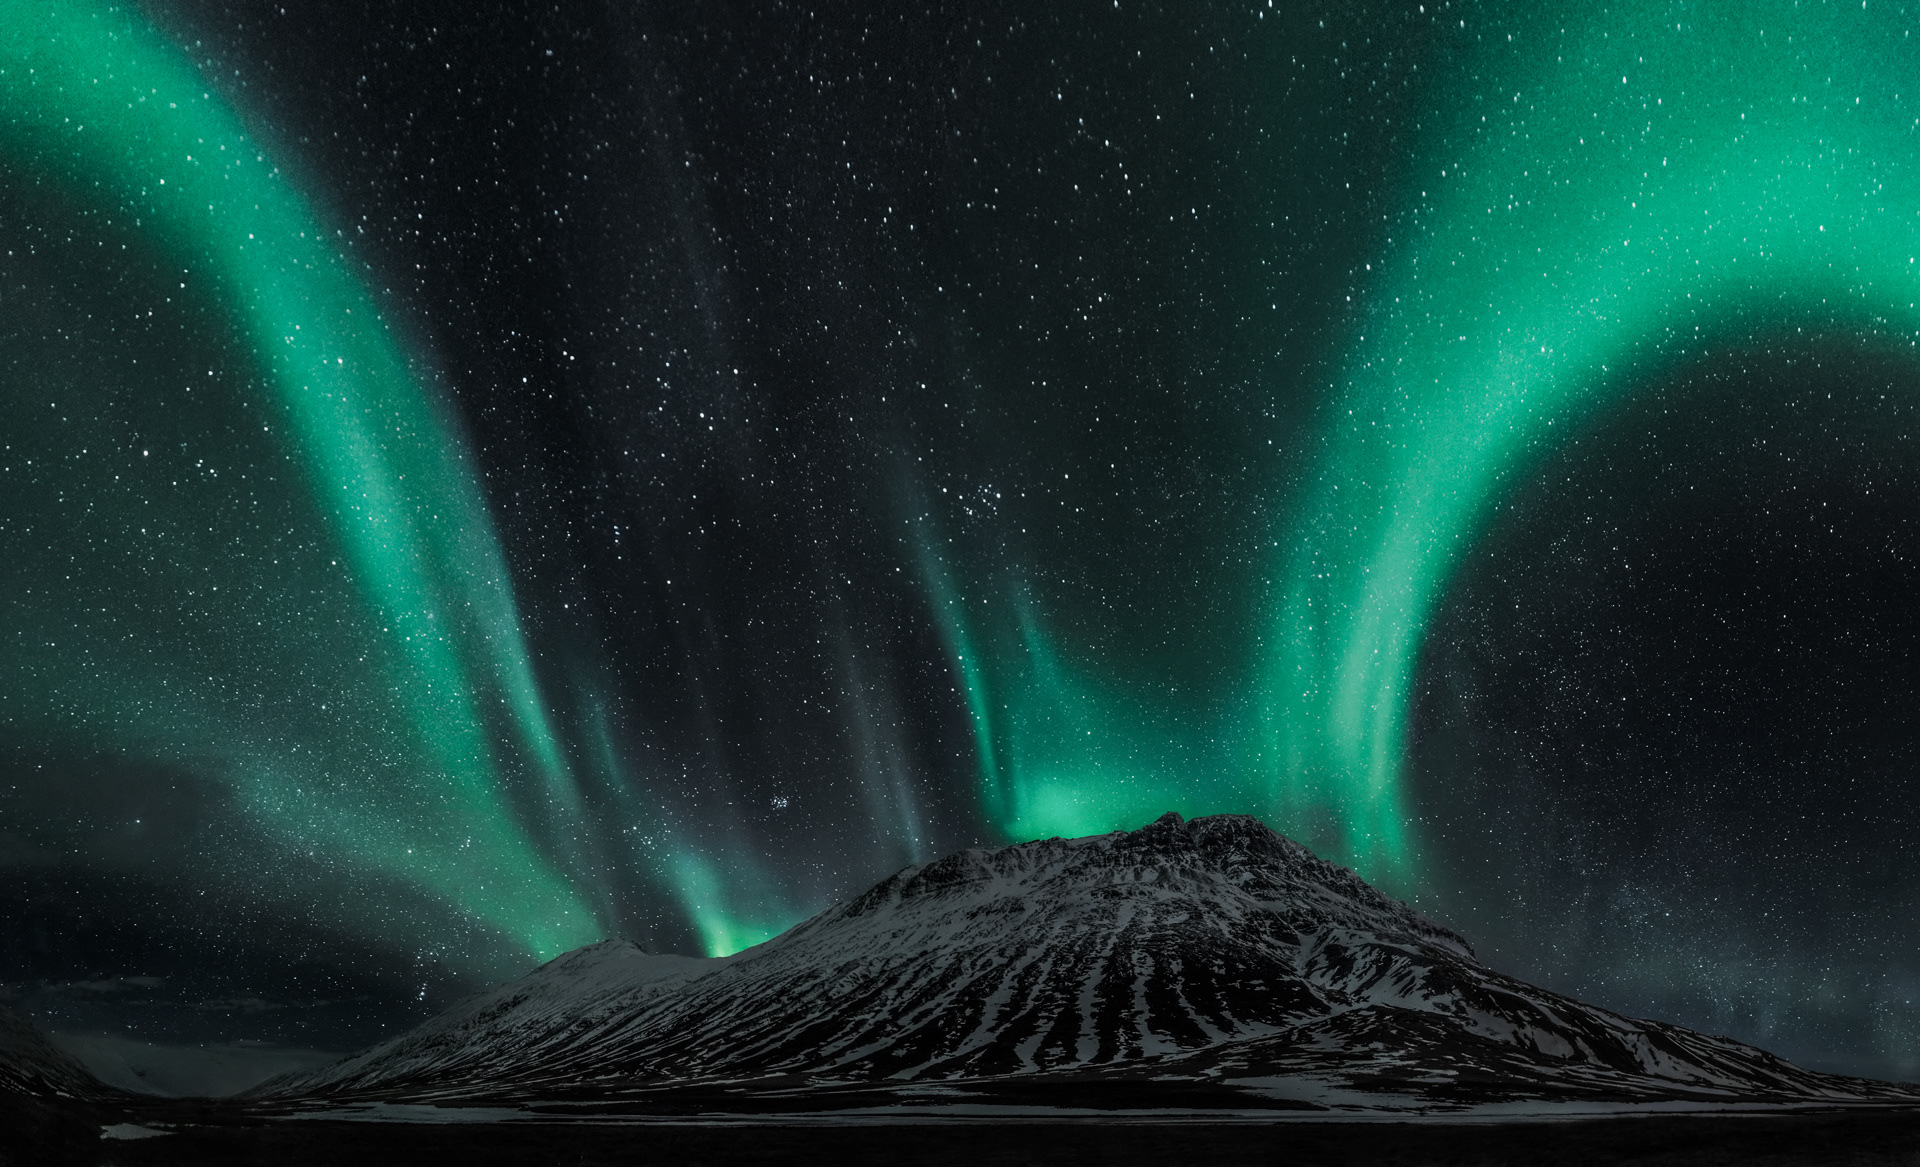
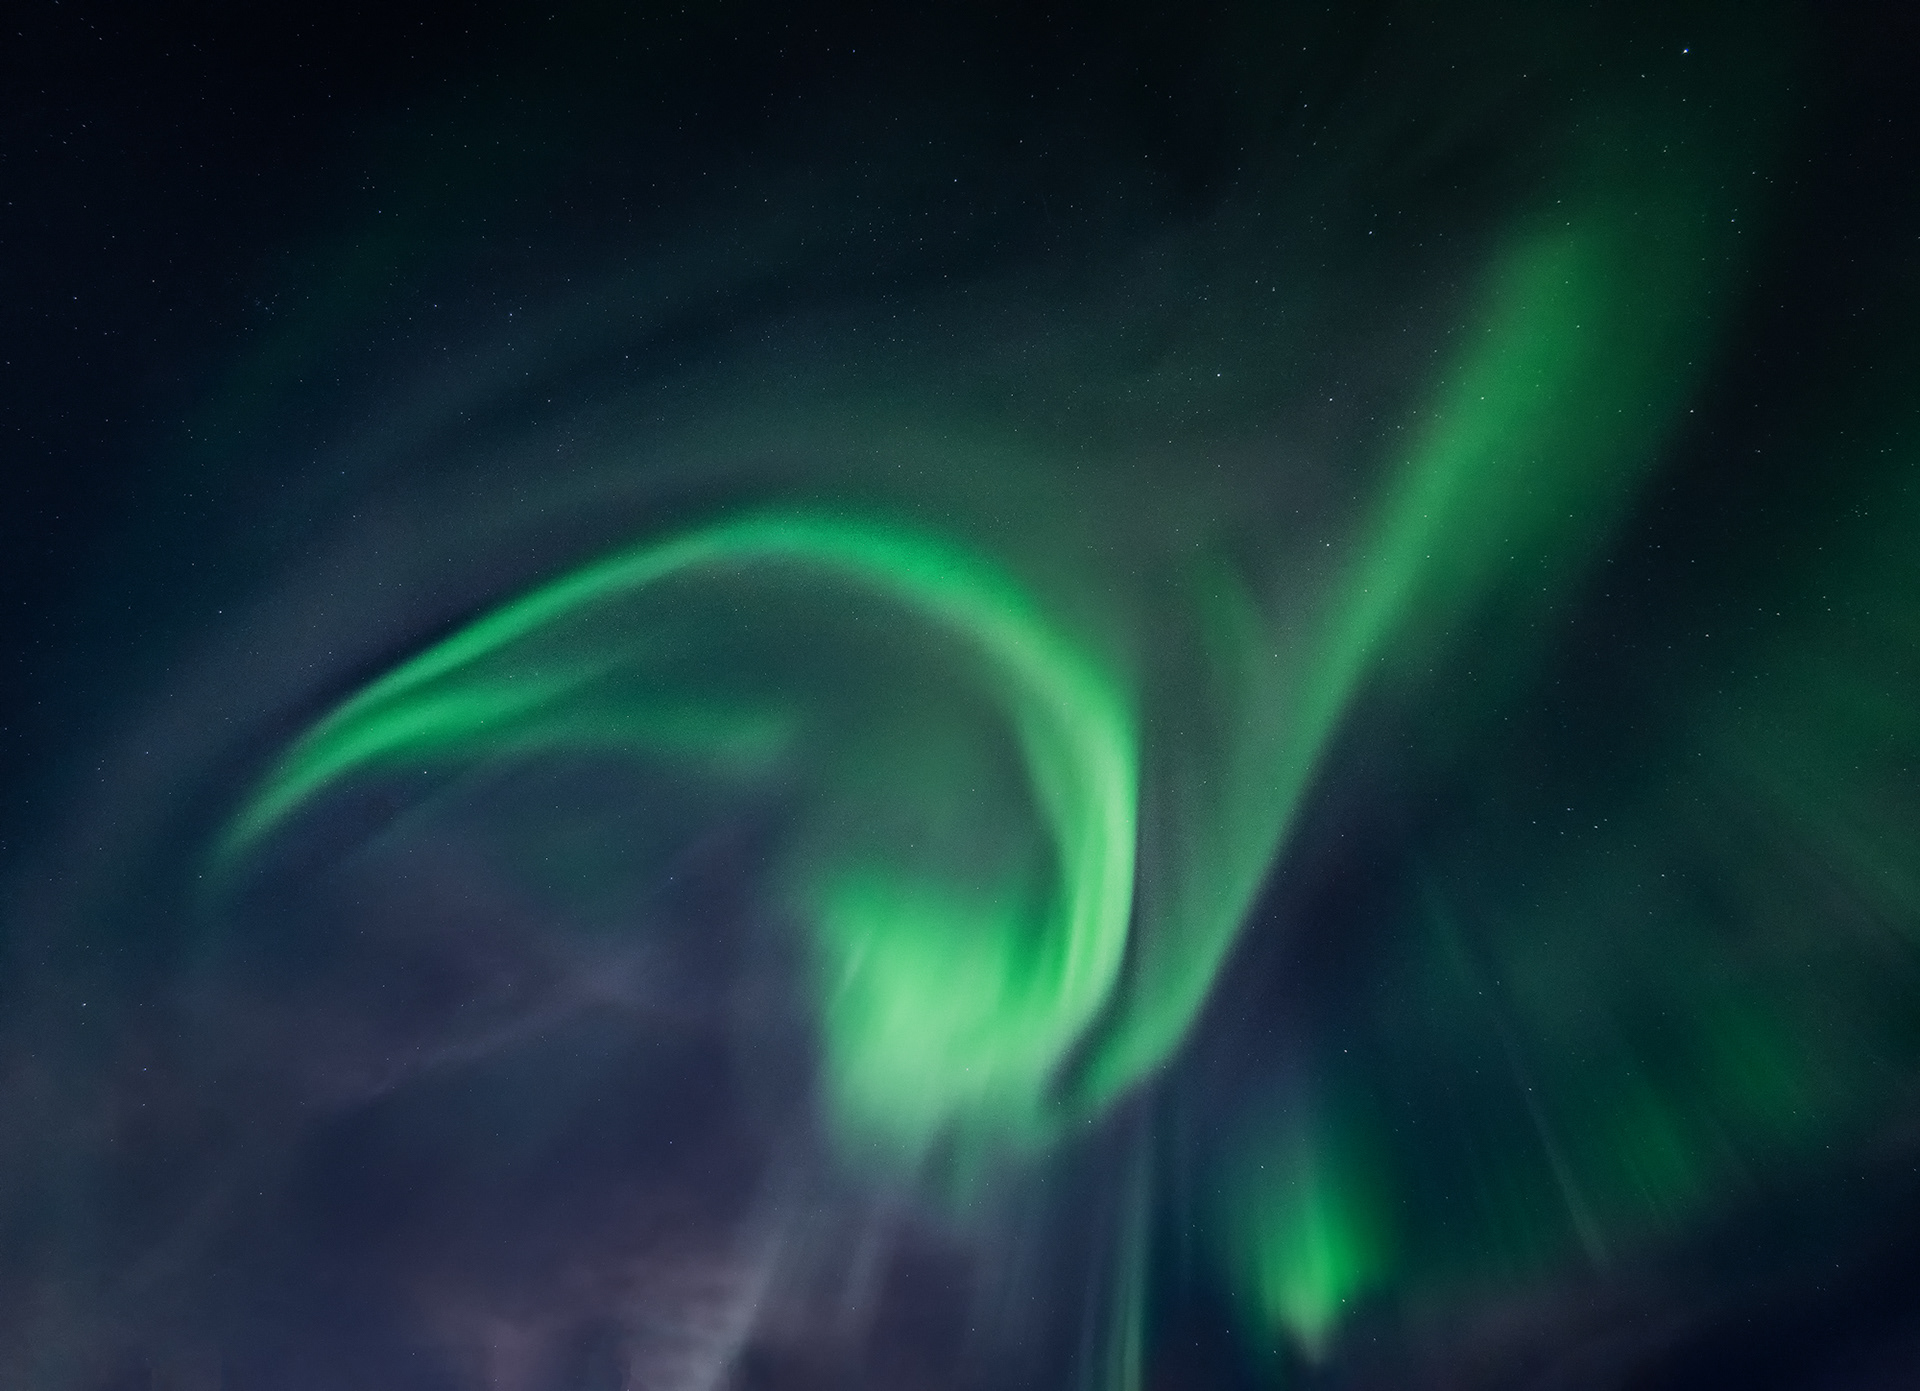
Shutter speed can vary drastically depending on how quickly the aurora is moving. The left photo is a panorama of 5 vertical shots taken at 25 seconds each, while the right photo was taken at 2.5 seconds.
Chasing northern lights along the Klondike Highway